When it’s time for a diaper change, every second counts. A well-organized diaper caddy means less scrambling and more calm — especially during those late-night changes! Whether you keep your caddy next to the cot, in the living room, or ready to grab on-the-go, the right setup can make newborn life feel so much easier.
Here’s your guide to creating the perfect diaper caddy: practical, aesthetically pleasing, and totally parent-proof.
This post includes affiliate links. As an Amazon Associate, I earn from qualifying purchases. There is no additional charge to you. View the disclosure for more information.
1. Start with the Right Caddy
Choose something sturdy with compartments — because divided storage = stress-free organizing.
✨ Great options:
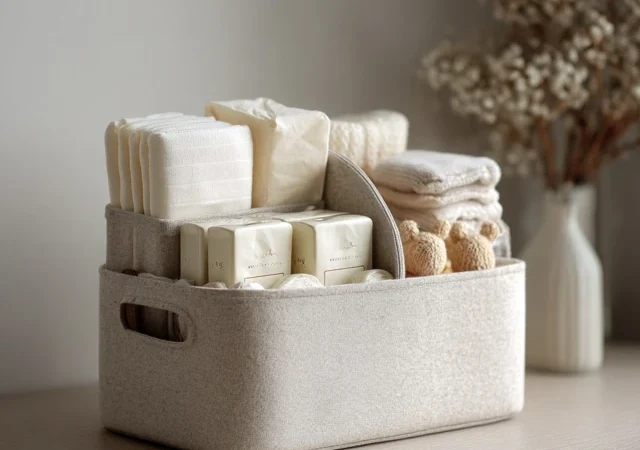
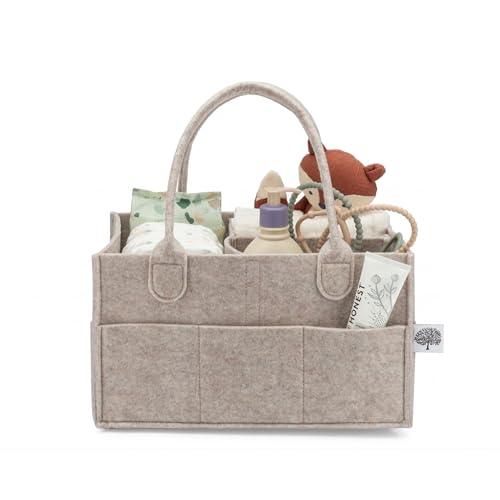
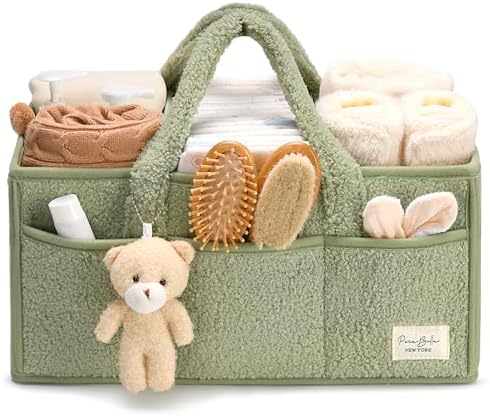
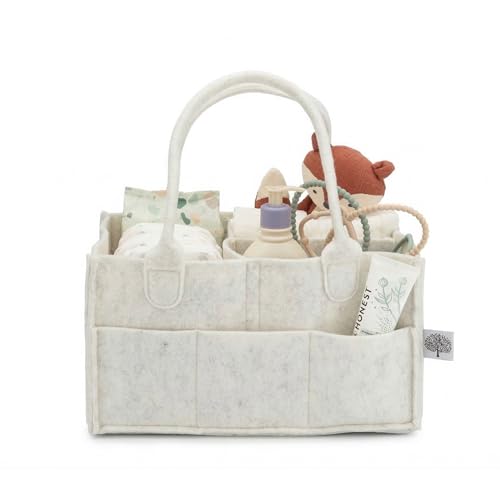
- A soft, felt caddy with removable inserts
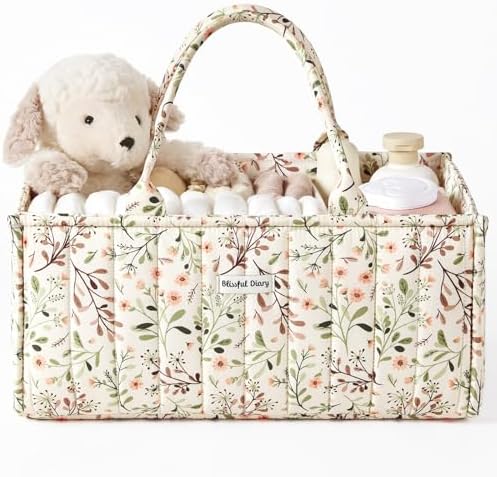
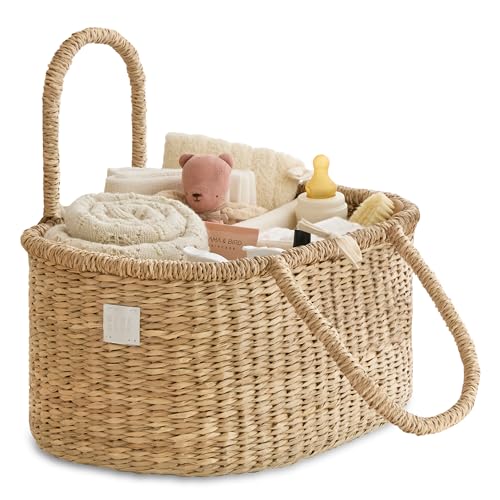
- A chic woven basket for décor-friendly storage
- A plastic organizer for bathroom changing areas
- A portable backpack-style caddy for outings
Pro Tip: Neutral colours blend seamlessly into any nursery décor.

2. Stock the Essentials (Don’t Overload!)
Fill your caddy with everything you need for a complete diaper change — but avoid clutter. You want to see everything at a glance.
Must-haves:
- Diapers (8–10 for daily use / more if it’s your main station)
- Unscented wipes (easy-pull lid is a lifesaver)
- Diaper rash cream or barrier balm
- Nappy bags or a small wet bag
- Hand sanitizer (for post-change clean-ups)
- Muslins or small wash cloths
Optional but useful:
- A spare onesie (accidents happen!)
- A mini changing mat
- Pacifier + clip for calming baby mid-change
- Teeny nail clippers


3. Organise by Frequency of Use
Your top-used items should always be front and centre.
Try this layout:
- Centre compartment: diapers stacked upright for quick grabbing
- Side compartment 1: wipes + changing cream
- Side compartment 2: back-ups (muslins, spare outfit, bags)
Everything visible. Everything reachable. No digging.
4. Create Multiple Stations
If you live on two floors, work in a different room during the day, or have twins — trust us, one caddy isn’t enough.
Consider:
- Nursery caddy – full setup for bedtime changes
- Downstairs caddy – basics only, easy access during the day
- Travel/Car caddy – always ready for emergencies
You’ll thank yourself later.
5. Restock Daily
A quick 10-second check at the end of the day keeps chaos away:
Do we have enough nappies? Are the wipes running low?
Make it part of your bedtime routine so every morning starts smooth.
6. Add Style & Comforrt
Because parenting gear can be beautiful and functional 💛
- Choose soothing textures that fit your nursery aesthetic
- Label compartments for that ultra-organized look
- Add a small plant or cute décor nearby if it’s a permanent station
The calmer the setup, the calmer the change — for everyone.
What to Avoid 🚫
- Scented products near newborn skin
- Overfilled compartments that make grabbing tricky
- Tiny loose items (safety first!)
Keep things simple and baby-safe.
Checklist You Can Save 📝
✔️ Diapers
✔️ Wipes
✔️ Cream
✔️ Bags / Wet bag
✔️ Hand sanitiser
✔️ Muslins / Cloths
✔️ Spare outfit
✔️ Portable changing mat
The Bottom Line
A diaper caddy is more than storage — it’s your helper through countless changes. With the right essentials and a thoughtful layout, you’ll turn a stressful moment into a quick, cosy routine you can handle with confidence (even half-asleep!).
Lucy x